Applying a Zoom Effect with Movavi Video Editor
The zoom effect is an interesting visual tool that will essentially focus on part of your video and make in larger. In doing so it will make the audience focus on that part too, especially some of the details it may contain that may otherwise have been either difficult to see – or just not brought to their attention.
Applying a zoom effect can be tricky, because you need to not only determine the area that you want to zoom-in on, but also the point of your video that you want to apply it too – and how long for. All of that can be made easier using Movavi Video Editor.
In order to use on Movavi Video Editor, first launch it and select the ‘Create project in full feature mode’ option then click ‘Add Media Files’ and select the video that you want to add. The video that you add will appear in the ‘Timeline’, and you can click on it there to select it.
Applying a Zoom Effect with Movavi Video Editor
Next you should click on the ‘More’ tab located at the bottom of the column of tabs on the right part of Movavi Video Editor’s interface – then select the ‘Pan and Zoom’ option. In that section you should see three options: Pan, Zoom In, and Zoom Out.
Initially you will want to select the ‘Zoom In’ option, and click on the ‘Add’ button to add it to your video. On the right you’ll see a frame in the ‘Preview’ window that you can adjust to determine the part that you want Movavi Video Editor to zoom in on.
In the ‘Timeline’ there’ll be an arrow that indicates where the effect will start and end. If you want you can adjust it by dragging it to the left or to the right until it is positioned at the right keyframes of video. It should be noted you can apply the zoom effect as many times as you want to a video using Movavi Video Editor, and can revert it back to its original form using the ‘Zoom Out’ effect if you want to.
When you’re satisfied with the effect and how it appears in the ‘Preview’ window, you can click ‘Export’ to save the video. Not only will Movavi Video Editor let you choose any format that you want when you do, but it also has presets you can use to optimize it for various devices or platforms.
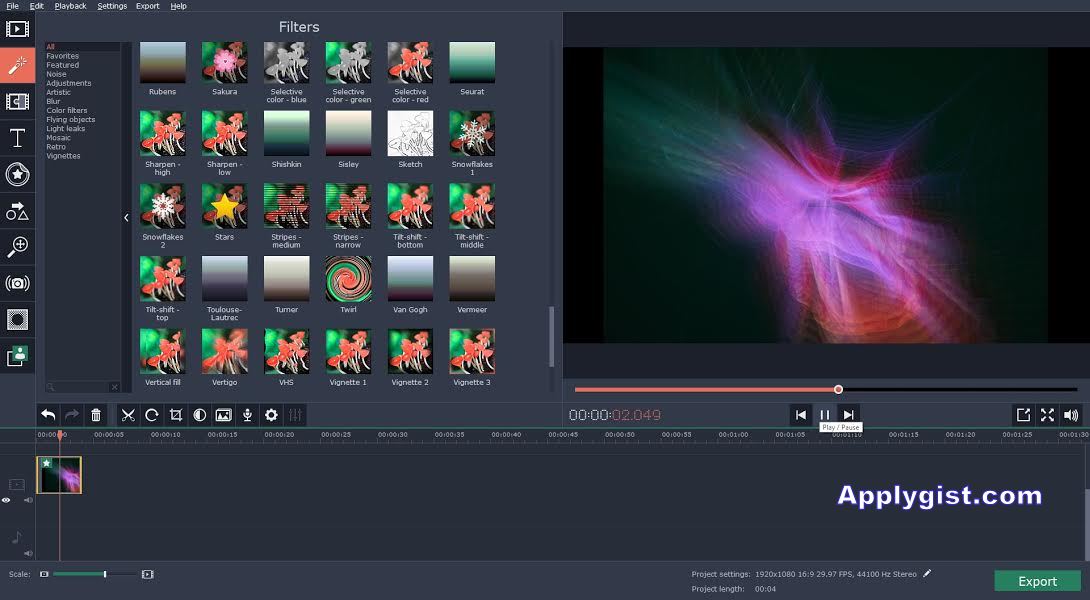
Instead of saving your video immediately, you may want to explore the other effects in Movavi Video Editor. Alternatively you could try out some of its other features and use them to enhance the video quality, apply filters, add animated transitions, cut and join video segments, and more.
Because of how easy Movavi Video Editor makes it to use the zoom effect, you should be able to do so effectively. Be sure to experiment with it a bit, as you’ll get a better idea of how it can be used to accentuate your videos when you do. Thanks for reading on applying a Zoom Effect with Movavi Video Editor, we hope this was informative? If so, share, and Check product out
Discover more from Applygist Tech News
Subscribe to get the latest posts sent to your email.
